![Featured image of post [AnalyEquip] X-ray Tomography Scanner User Guide](/img/2308/X-CT_Concrete.webp)
(Thumbnail reference from: A. du Plessis, http://blogs.sun.ac.za/ctscanner/concrete-cracking/, (2014).)
Industrial CT is the abbreviation of computerized tomography technology used in the industrial field. It can clearly, accurately and intuitively display the interior of the detected object in the form of two-dimensional tomographic images or three-dimensional images without damaging the detected object. The structure, composition, material and defect status are known as the best non-destructive testing and non-destructive evaluation technology today. It is a non-destructive testing technology with more accurate defect detection effect and more comprehensive detection content than flaw detection.
Equipment model: Germany YXLON - Y.CT precision
User Guide
1. Start-up operation process:
- Turn on the main power
- Turn the control voltage key: 0 -> start -> 1.
- Turn the X-ray key: off -> on, wait for 5 minutes, on -> system ready -> active.
- Turn on the workstation computer, wait for the green light to turn on, turn on the CT workstation host, and enter the password.
- Open the hatch and make sure all shading sheets are placed at the X-ray source.
- Open the YXLON-CT software, create a new folder to enter the program, wait for the vacuum in the X-ray tube to reach 100%, and start to preheat the X-ray filament.
- Move the radiation detector as far as it will go. Prevent X-rays from causing excessive loss to the ray detection source during the preheating process.
- Run Start up to preheat the X-ray filament. If the preheating process is too slow, it is mainly due to insufficient internal vacuum, open the YXLON-Control software, and run the warm up and KV center processes respectively.
- Wait for the Start up to complete, and the startup process is completed, and the sample can be placed, the parameters adjusted, and the test steps performed.
⚠️: During non-long holidays, the main CT power supply is not turned off, and the workstation host and X-ray will be in standby mode. Normal working days can proceed directly from step 5.
2. Sample preparation process:
- The sample is limited by its smallest confining cylinder size. Generally, the maximum diameter is 10cm.
- The minimum internal circular section of the sample should be parallel to the X-ray direction. The largest internal circular section should be perpendicular to the X-ray direction.
- It is best that the sample can be placed stably, if not, you need to use plasticine to fix it on the stage [1].
[1] Plasticine will inevitably affect the imaging of the bottom of the sample, so the observation area should be far away from the bottom.
3. Placement process:
- Make sure the X-ray source is off.
- Choose suitable shading sheets. There are six shading sheets, according to the shading strength from weak to strong: 0.5mm aluminum sheet, 1mm aluminum sheet, 0.5mm iron sheet, 1mm iron sheet, 0.5mm lead sheet, 1mm lead sheet. When placed, the shading sheet with weak shading strength should be placed close to the X-ray source. The higher the density of the test specimen, the stronger the mask should be used. Generally, 0.5mm aluminum sheet can be used for paste specimen.
- Place the sample. Pay attention to aligning with the bottom aluminum plate to ensure that the sample is in the center of the CT stage, so as to ensure that the sample will not deviate from the radiation source during the rotation scanning process.
- Slowly close the door until the door detector closes. After the door detector is closed, the X-ray source can be turned on.
4. Program operation:
- Create a new file and name it with Date - sample sender - sample number.
- Open X-Ray-Tube and open Imagine-Capture.
- Move the distance between the CT sample stage and the detector. The distance between the stage and the radiation source determines the magnification, which depends on the size of the sample. Detector needs to capture all projections for calculation.
- Rotate the sample 360° to ensure that the sample is in the center of the CT stage. If the deviation is too large, the image capture and X-ray will need to be turned off and the placement process will need to be redone.
- According to the sample, set the general parameters [1].
- Click Parameter get, and click Add to slicelist to obtain and generate the configuration file.
- Check the parameters of the image capture area, the RID should be 20-80%, generally 20-40%. Contrast min needs to be above 3000 [2].
- Click Start and check whether the Center offset in the pop-up window is 0, if it is not 0, you need to close the program window and complete the program operation again.
- If the check is correct, you can start scanning.
[1] Mentioned later.
[2] It is difficult to adjust when the sample density is too light or too heavy, so the density distribution of the sample should be considered, otherwise the imaging quality will be affected.
⚠️: There are usually no problems with program operation. If there is a problem, the reasons are divided into hardware section and software section.
At the hardware section, filament loss is common. At this time, the filament needs to be replaced, and the equipment enters maintenance. Or the signal receiver and other components are damaged, and no software operation can be performed at this time. Leave the device open and contact a service engineer.
If there is a problem at the software section, close and open the YXLON-CT software, and then perform the program operation again.
General parameter settings:
- Number of projections : >1080, generally choose 1530.
- Integration time (ms) : 250~300.
- Frame binning : 3.
- Voltage : 185, 190, 195 [1].
- Output power(w) : 30 ~ 75.
[1] Only these three values can be selected for the voltage value, because the instrument calibration process does not calibrate the full curve, only the voltage accuracy of these three places is calibrated.
⚠️: Generally speaking, the larger the number of projections, the longer the integration time, the larger the number of frames, and the higher the clarity, but the improvement effect is not obvious.
The voltage and power are related to the X-ray source. The larger the sample and the denser it is, the harder it is for X-rays to penetrate. We need to use higher voltage and higher power for scanning. Variations in sample size typically adjust voltage, and variations in density typically adjust power.
The X-ray source filament is a consumable product, the greater the power, the faster the consumption speed, and it is very sensitive to current, so generally use high voltage and low current. For example, paste samples generally use 190kV, 33w output power.
5. Complete the follow-up:
- Wait for the program to automatically reconstruct the scan results.
- Using the data processing computer, slice the data results through VG software, and export the content in the form of picture slices.
User guide - Chinese version
工业CT是用在工业领域的计算机断层成像技术的简称,它能在对检测物体无损伤条件下,以二维断层图像或三维立体图像的形式,清晰、准确、直观地展示被检测物体的内部结构、组成、材质及缺损状况,被誉为当今最佳无损检测和无损评估技术,是比探伤检测缺陷效果更精确,检测内容更全面的无损检测技术。
设备型号:德国YXLON - Y.CT precision
一、开机操作流程:
- 接通主电源
- 旋转控制电压钥匙:0 -> start -> 1。
- 旋转X射线钥匙:off -> on,等待5分钟, on -> system ready -> active。
- 打开工作站计算机,等待绿灯亮起,打开CT工作站主机,并输入密码。
- 打开舱门,确定所有遮挡片放置在X射线源处。
- 打开YXLON-CT软件,新建文件夹进入程序,等待X射线管内真空度达到100%,开始预热X射线灯丝。
- 将射线探测器移动至最偏远处。防止预热过程X射线对射线探测源造成过大损耗。
- 运行start up进行X射线灯丝的预热。若预热过程过慢,主要由于内部真空度不足,打开YXLON-Control软件,分别运行warm up和KV center进程。
- 等待Start up完成,便完成了开机启动过程,可以放置试样,调节参数,进行测试步骤。
⚠️:非长假期间,CT主电源不关闭、工作站主机和X射线均需处于待机状态。一般工作日可直接从第5步进行。
二、制样过程:
- 样品受到其最小约束圆柱体尺寸限制。一般最大直径10cm。
- 样品的最小体内圆截面应平行于X射线方向。最大体内圆截面应垂直于X射线方向。
- 样品最好可以稳定放置,若无法稳定,则需要使用橡皮泥将其固定在载物台上[1]。
[1] 橡皮泥势必会影响样品底部成像,故需观察区应远离底部。
三、放置过程:
- 确定X射线源关闭。
- 选择合适遮挡片。遮挡片共六片,按照遮挡强度从弱至强为:0.5mm铝片、1mm铝片、0.5mm铁片、1mm铁片、0.5mm铅片、1mm铅片。放置时,应使得使得遮挡强度弱的遮挡片放置在靠近X射线源处。检测试样的密度越高,应当使用越强的遮挡片。净浆一般使用0.5mm铝片即可。
- 将带有样品的样品台。注意与底部铝板对齐,保证样品处于CT载物台中心,以保证旋转扫描过程,样品不会偏离射线源。
- 缓慢关闭舱门至舱门检测器闭合。舱门检测器闭合之后,X射线源才可以开启。
四、程序操作:
- 新建文件,以日期-送样人-样品编号进行命名。
- 开启X-Ray-Tube,开启Imagine-Capture。
- 移动CT样品载物台和探测器的距离。载物台与射线源的距离决定了放大倍数,而取决于样品的大小。而探测器需要将所有投射影响捕捉以进行计算。
- 将样品360° 旋转,以确保样品处于CT载物台中心。若偏离过大,则需要关闭图像捕捉和X射线,从放置过程重新开始。
- 根据样品情况,对常规参数[1]进行设置。
- 点击设置参数get,点击add to slicelist以获得并生成配置文件。
- 检查图像捕捉区参数,RID需在20~80%,一般以20~40%适中。Contrast min需在3000以上[2]。
- 点击开始,检查弹出窗口的Center offset是否为0,不为零则需要关闭程序窗口,重新完成程序操作。
- 若检查无误,则可以开始扫描。
[1] 后文提及。
[2] 在样品密度过轻、过重时难以调节,故样品需考虑密度分布,否则影响成像质量。
⚠️:程序操作通常不会出现问题。若出现问题,原因分为硬件层面和软件层面。
硬件层面常见为灯丝损耗,此时需要对灯丝进行更换,设备进入保养。或信号接收器等部件损坏,此时均无法进行任何软件操作。保持设备打开并联系维修工程师。
软件层面出现问题,将YXLON-CT软件关闭再打开,再次进行程序操作即可。
常规参数设置:
- 投影张数: >1080,一般选择1530。
- 积分时间 – Integration(ms) : 250~300 。
- 帧数 – Frame binning : 3。
- 电压 – Voltage : 185,190,195 [1]。
- 功率 – Output(w) : 30 ~ 75。
[1] 电压值仅选择这三个数值,仪器校对过程并未全曲线校对,仅校对这三处电压精确度。
⚠️:一般来说,投影张数越大,积分时间越长,帧数越大,清晰程度越高,但提升效果并不明显。
电压和功率与X射线源相关,样品越大、密度越大,那么X射线越难以穿透,我们需要使用更高的电压和更大的功率进行扫描。样品大小变化一般对电压进行调节,密度变化一般调节功率。
X射线源灯丝是消耗品,功率越大,消耗速度越快,且对电流十分敏感,故一般使用大电压小电流。例如净浆试样一般使用190kV,33w输出功率。
五、完成后续:
- 等待程序对扫描结果进行自动重建。
- 使用数据处理计算机,通过VG软件对数据结果进行切片处理,将内容以图片切片形式导出。
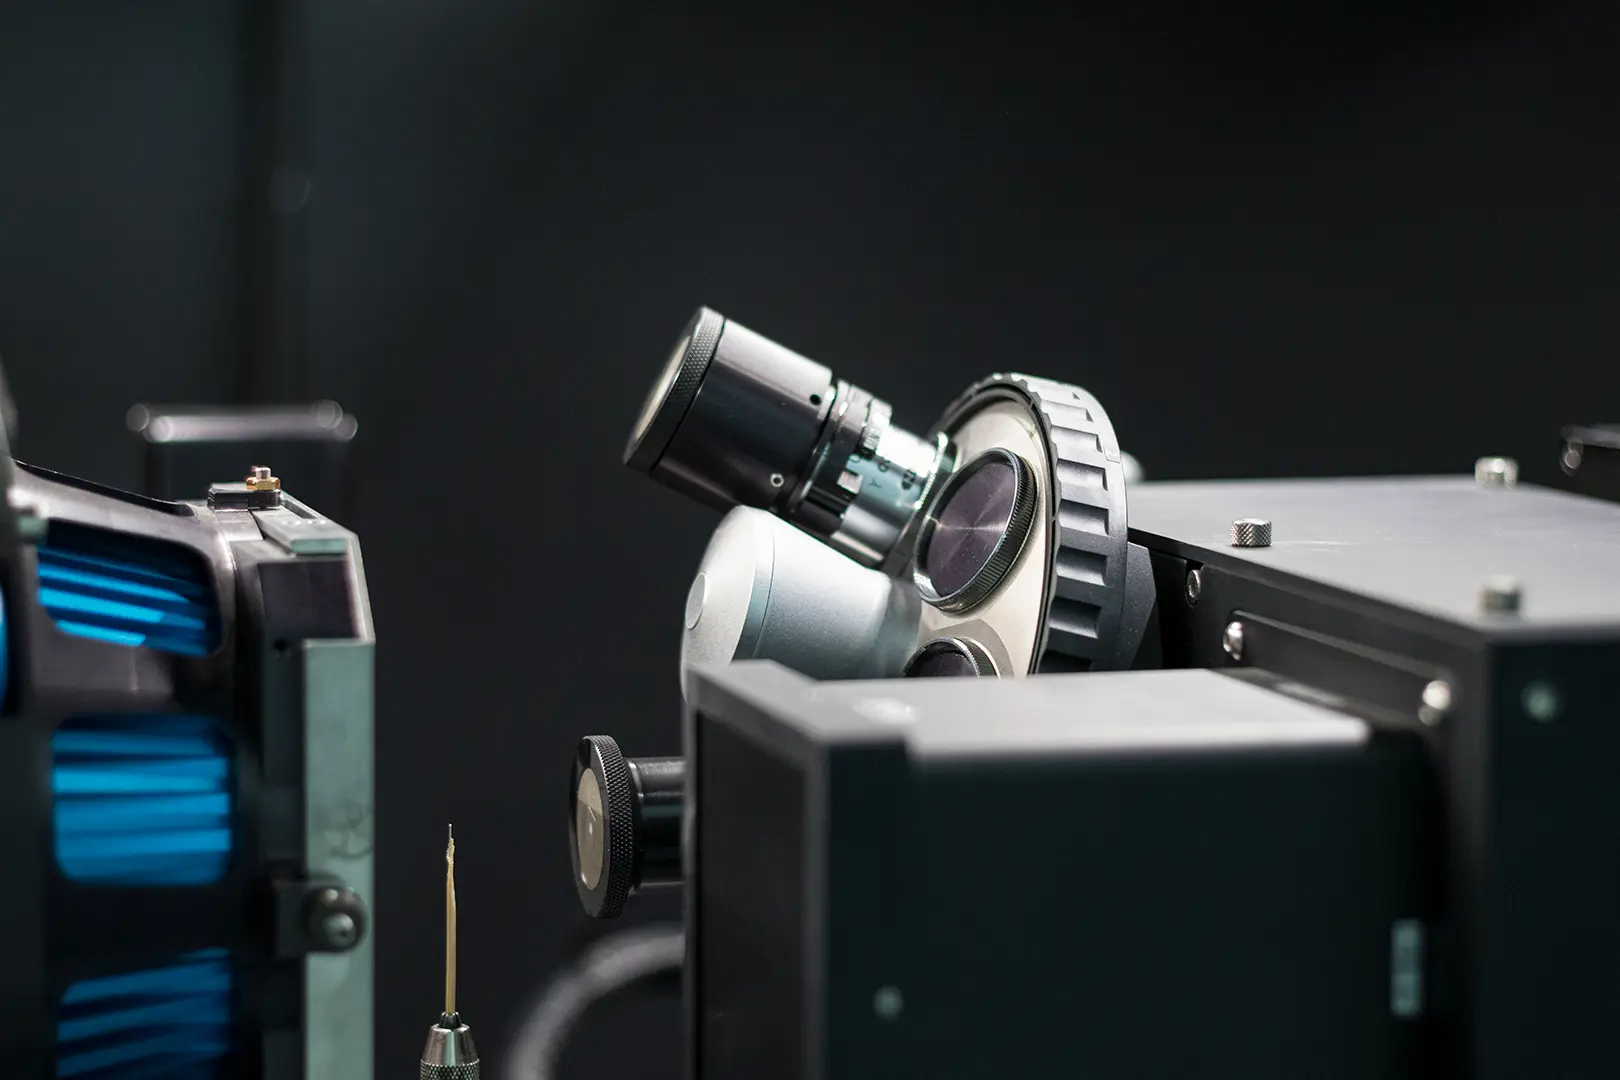
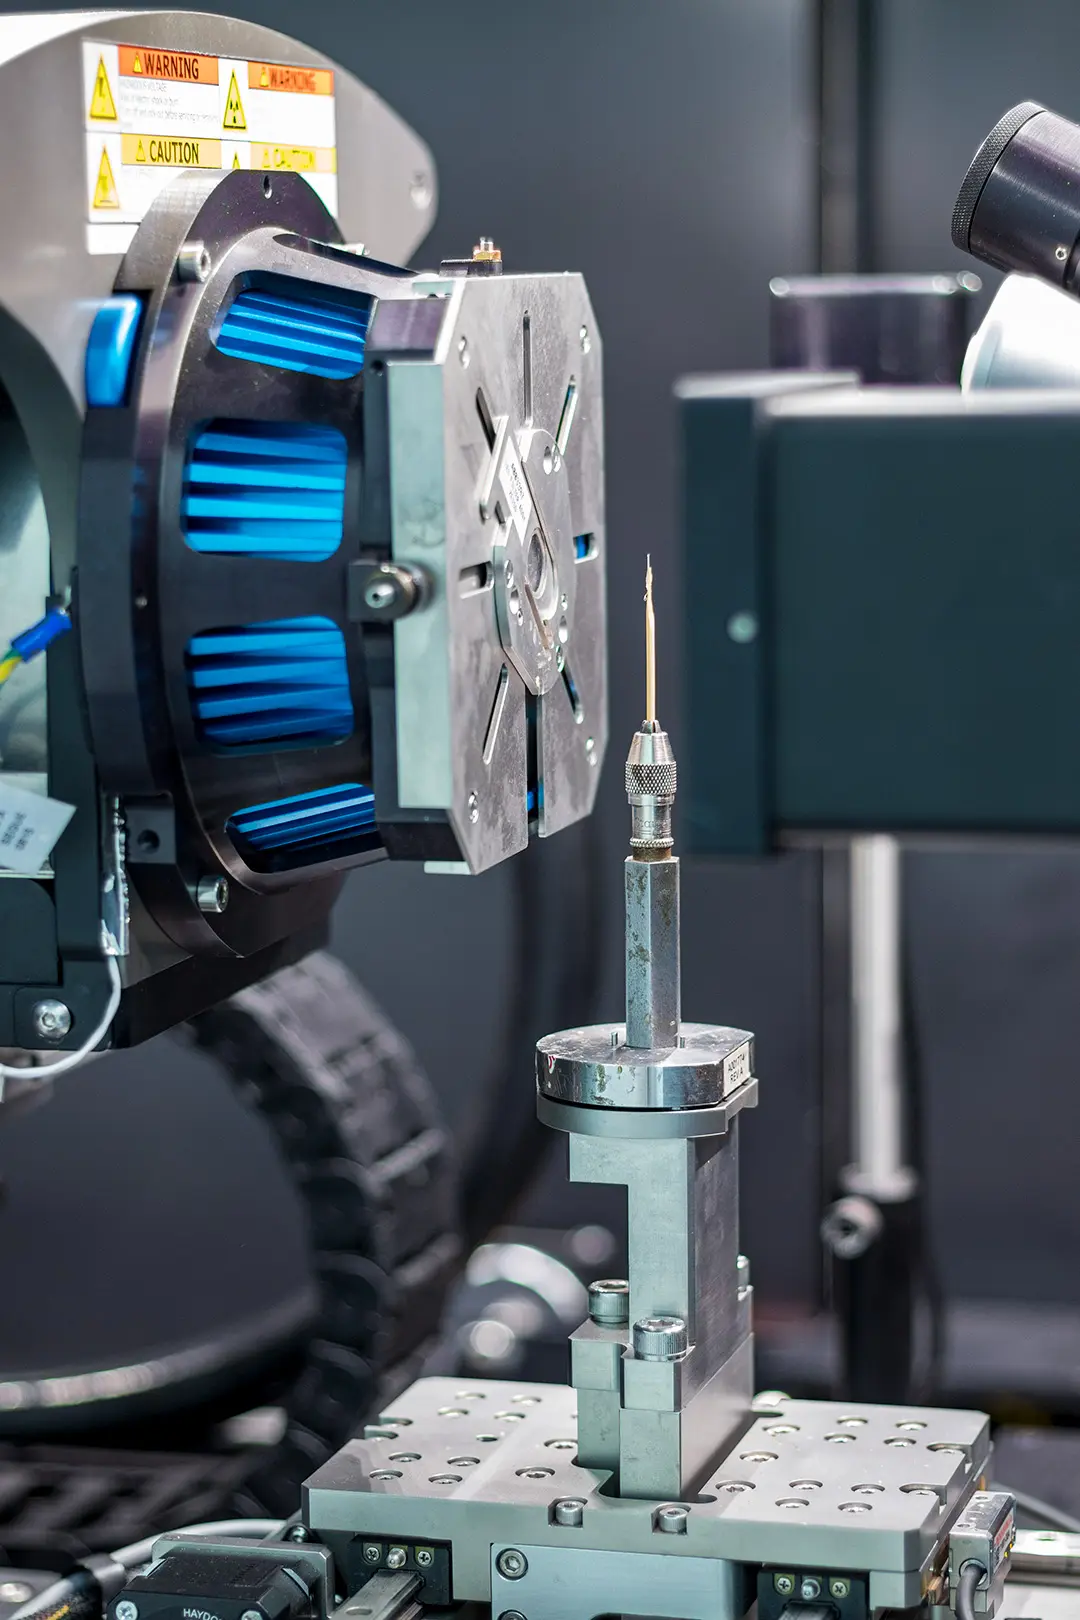
Pictures of Equipment
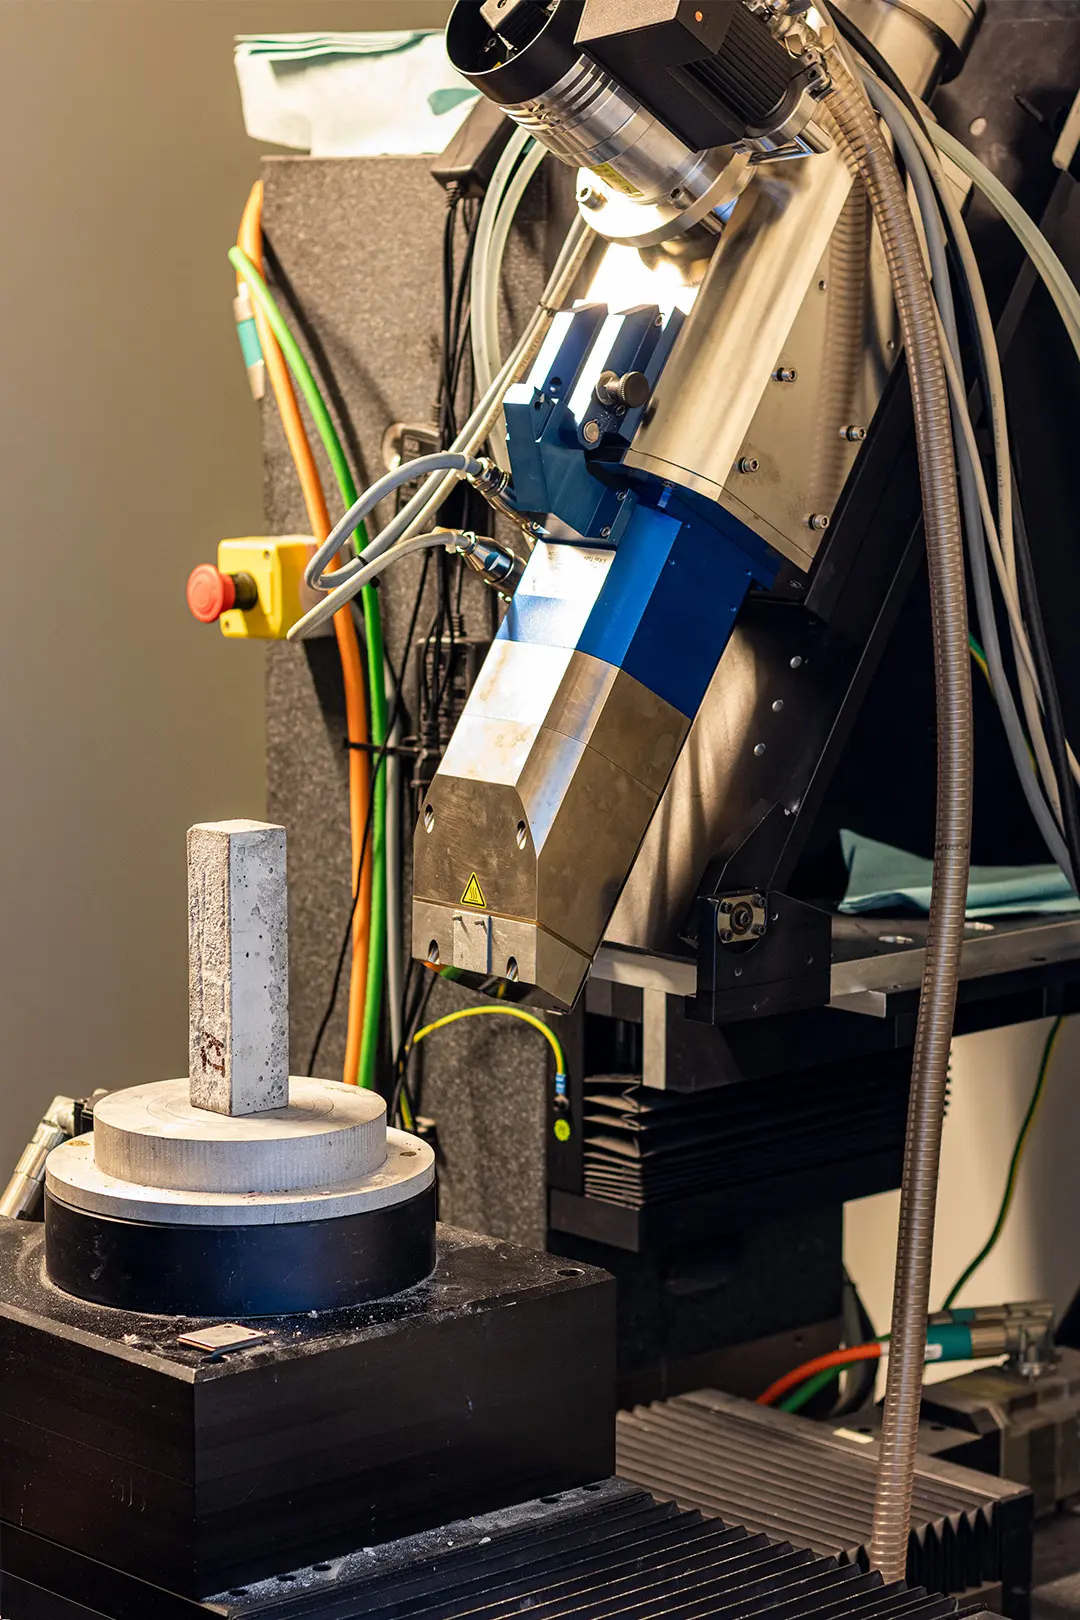
Y.CT precision, X-ray tomography scanner, Southeast University

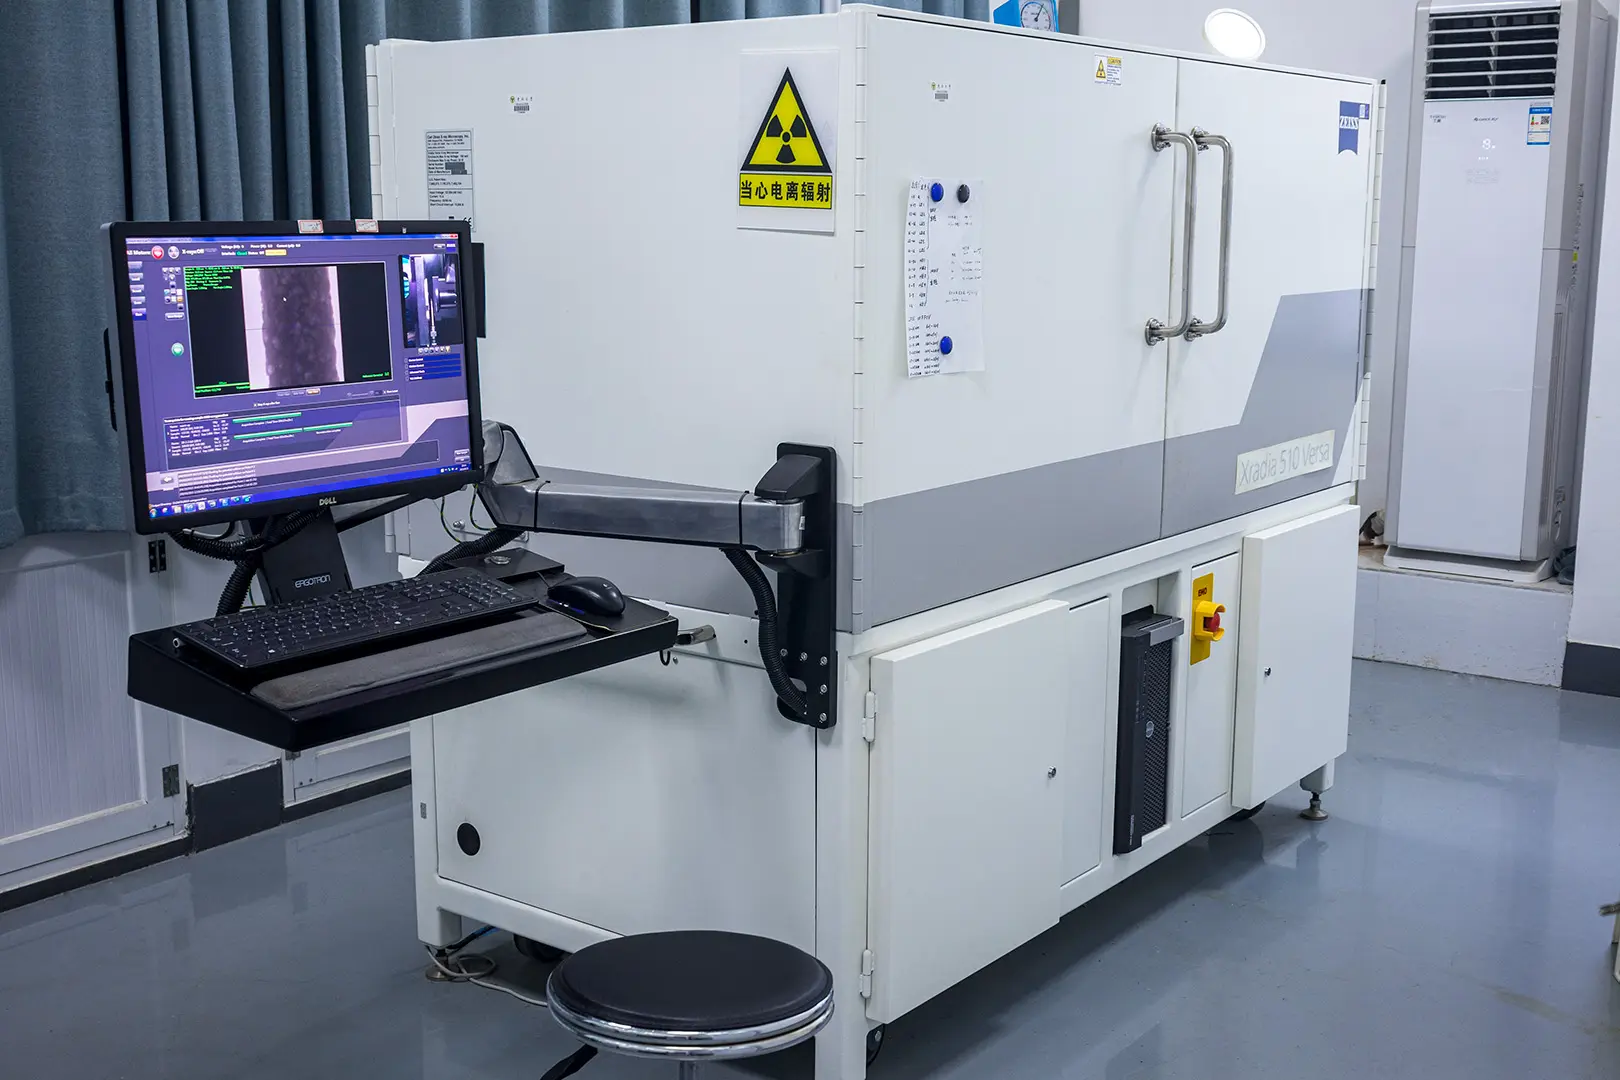
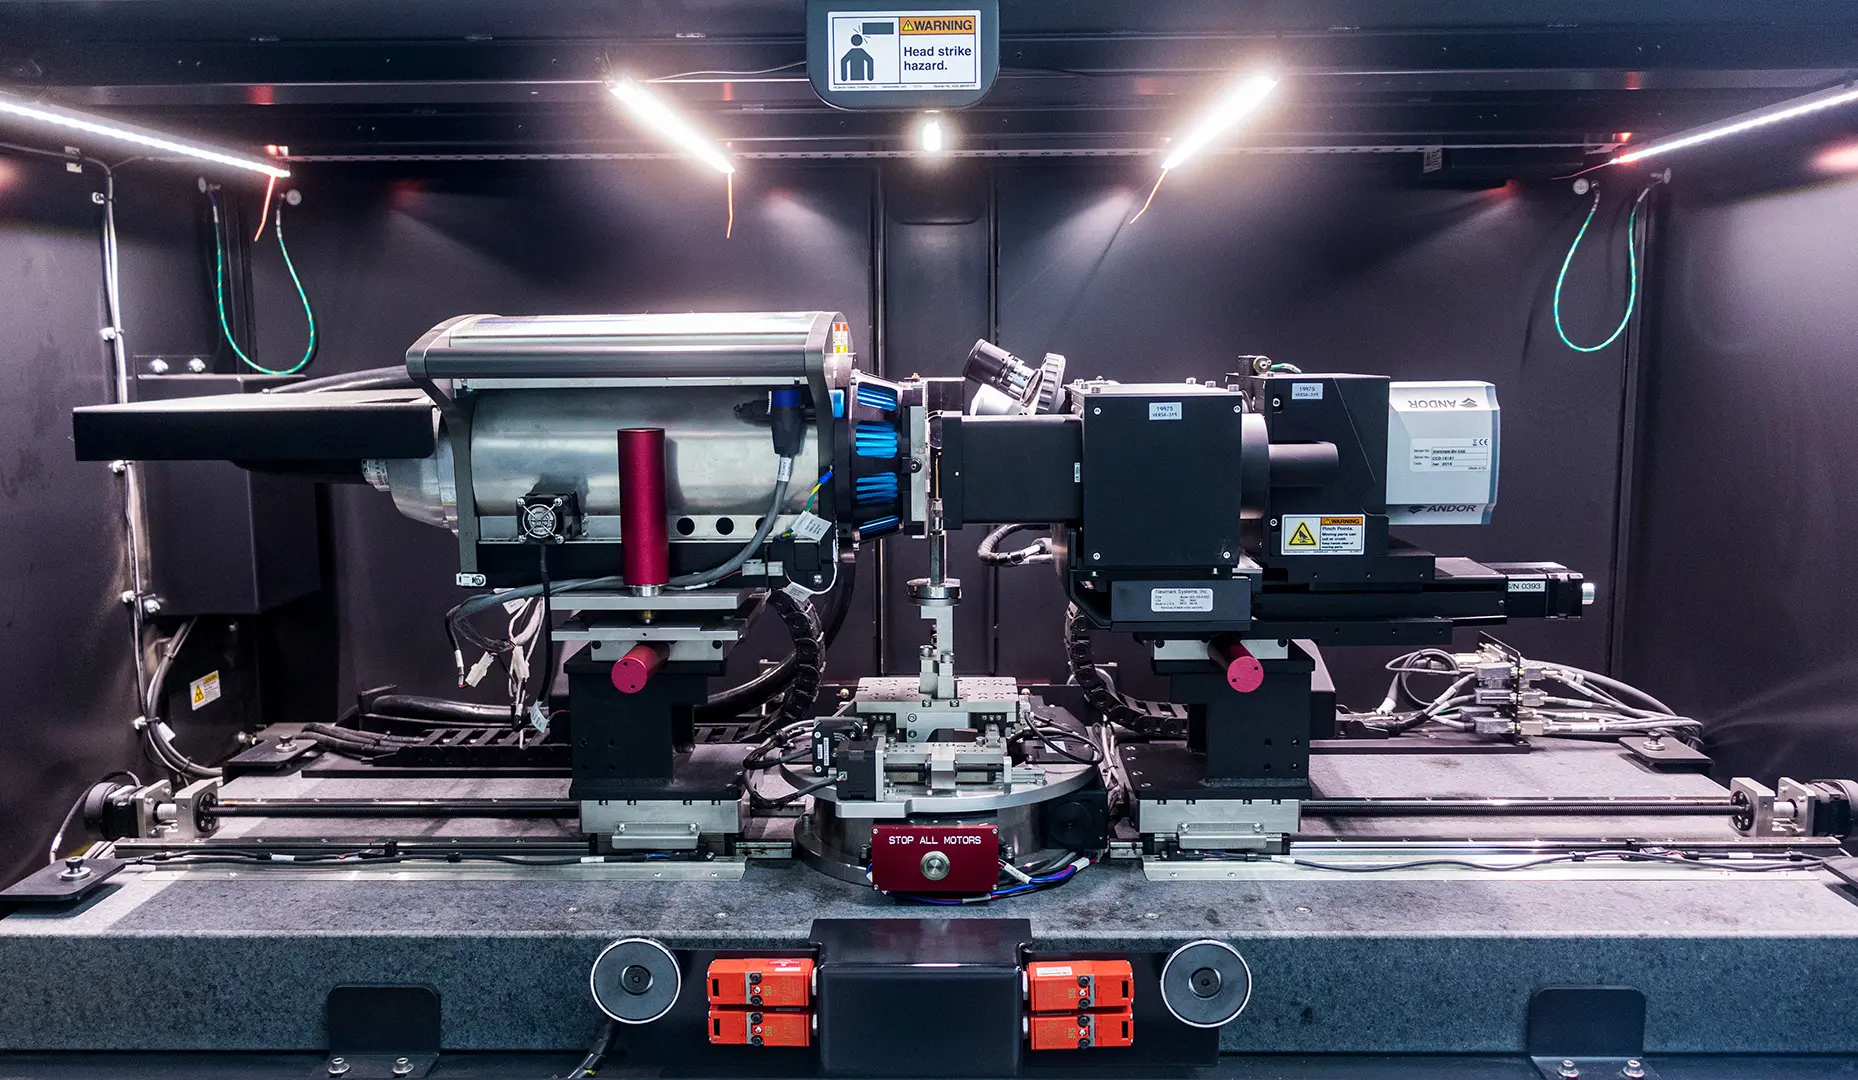
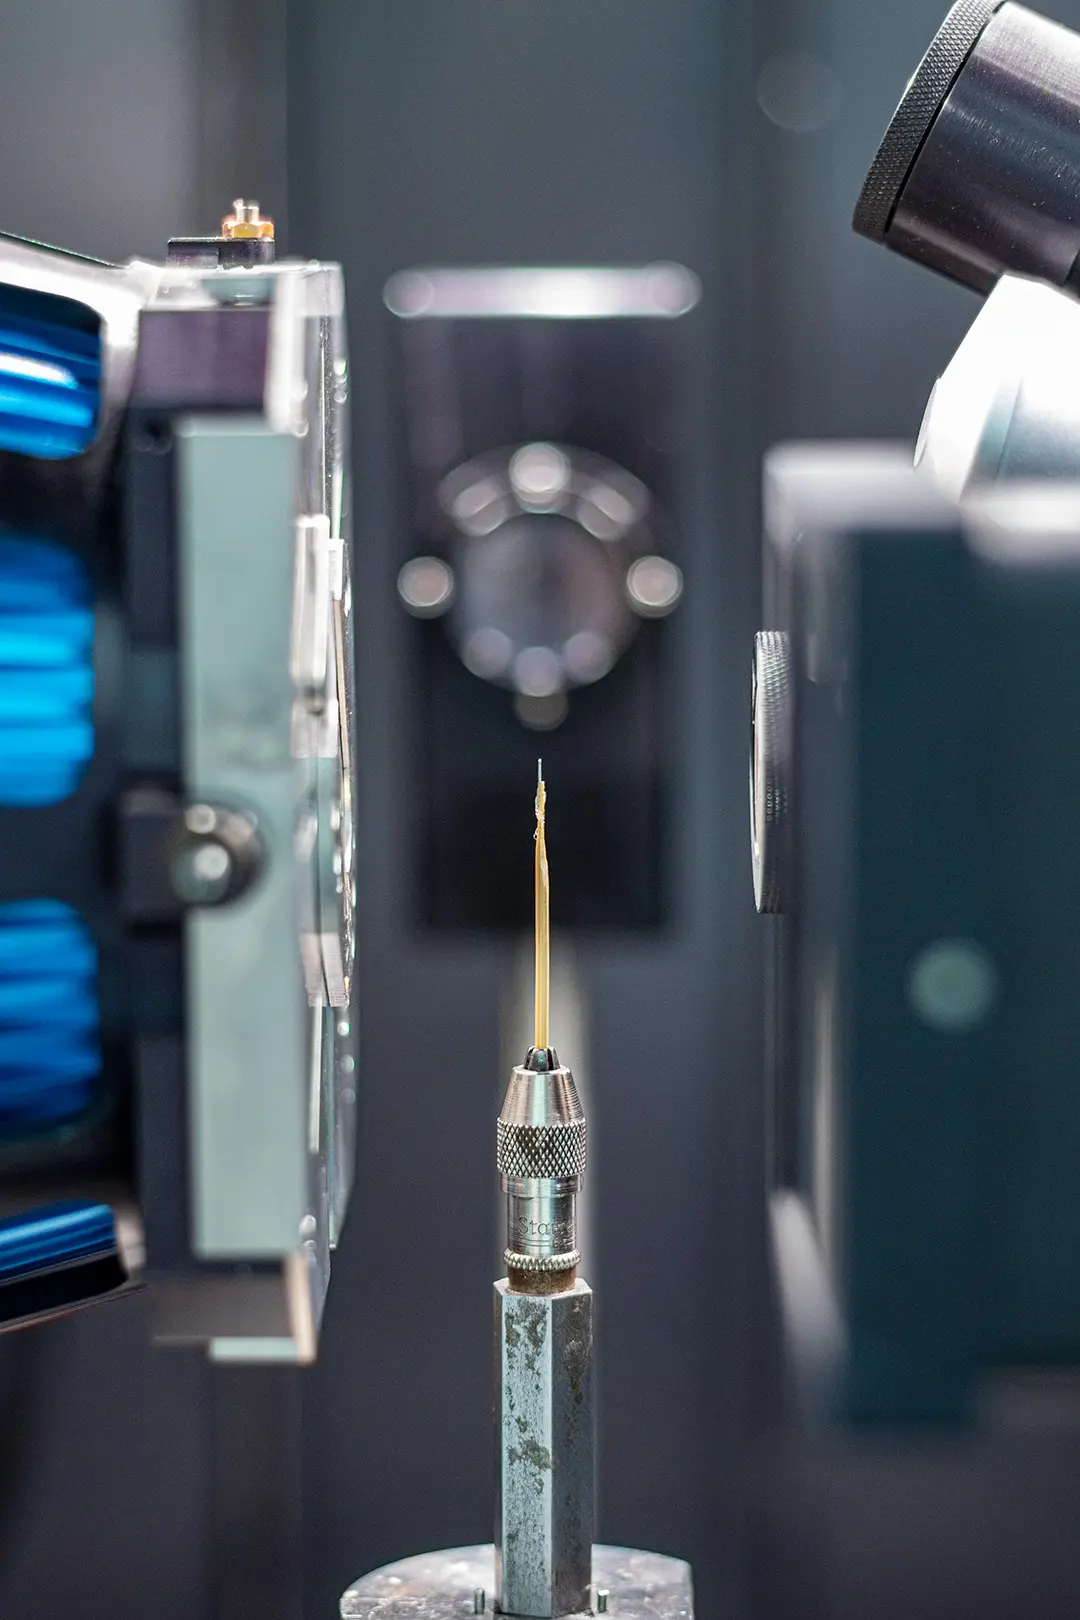
Zeiss Xradia 510 Versa, 3D X-ray microscope, Southeast University
Postscript
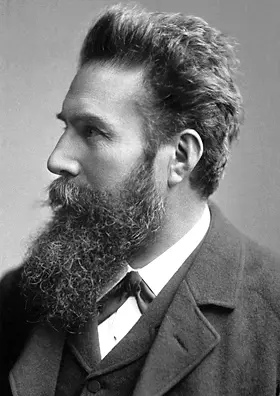
It all started in 1895.
1895
Wilhelm Conrad Röntgen found X-ray.
1896
Carl Heinrich Florenz Müller made the first X-ray tube in Hamburg.
1967
Allan Macleod Cormack solved the mathematical problems related to CT reconstruction.
1972
Sir. Godfrey Newbold Hounsfield conducted research on related reconstruction techniques and ultimately invented the X-CT scanner.
Röntgen, Cormack and Hounsfield won the Nobel Prize in 1901 and 1979 respectively.